Whether you are a new farmer seeking advise and guidance on sugarcane farming or a seasoned veteran in sugarcane farming just looking to leverage new farming systems and technologies offered by SRIF, this is a good place to start
If you are planning to become a sugarcane farmer, here are some of the steps that you can follow to get started. These are the most simplified process and more details will be provided by relevant stakeholders along the way.
As farmers, new or seasoned veterans, finding the right information about sugarcane farming can be difficult. Sometimes it can even be overwhelming when receiving information from so many sources, but here you will find all the relevant, most basic, best practices and digestible information that new farmers and even experienced farmers can refer to.
There are 19 commercial varieties to choose from and it can be a daunting task. The most important thing to note is what is your soil type. Speak to your sector office staff to find out or check your soil results report. You can also contact SRIF for any assistance on this matter. Your soil type determines the type of variety you can plant on it. You can also check our list of top 10 varieties in Fiji to see which one bests suits your soil type. Farmers are encouraged to plant 3 suitable varieties on their farm. You can also find the list of varieties by soil type and by sector here.
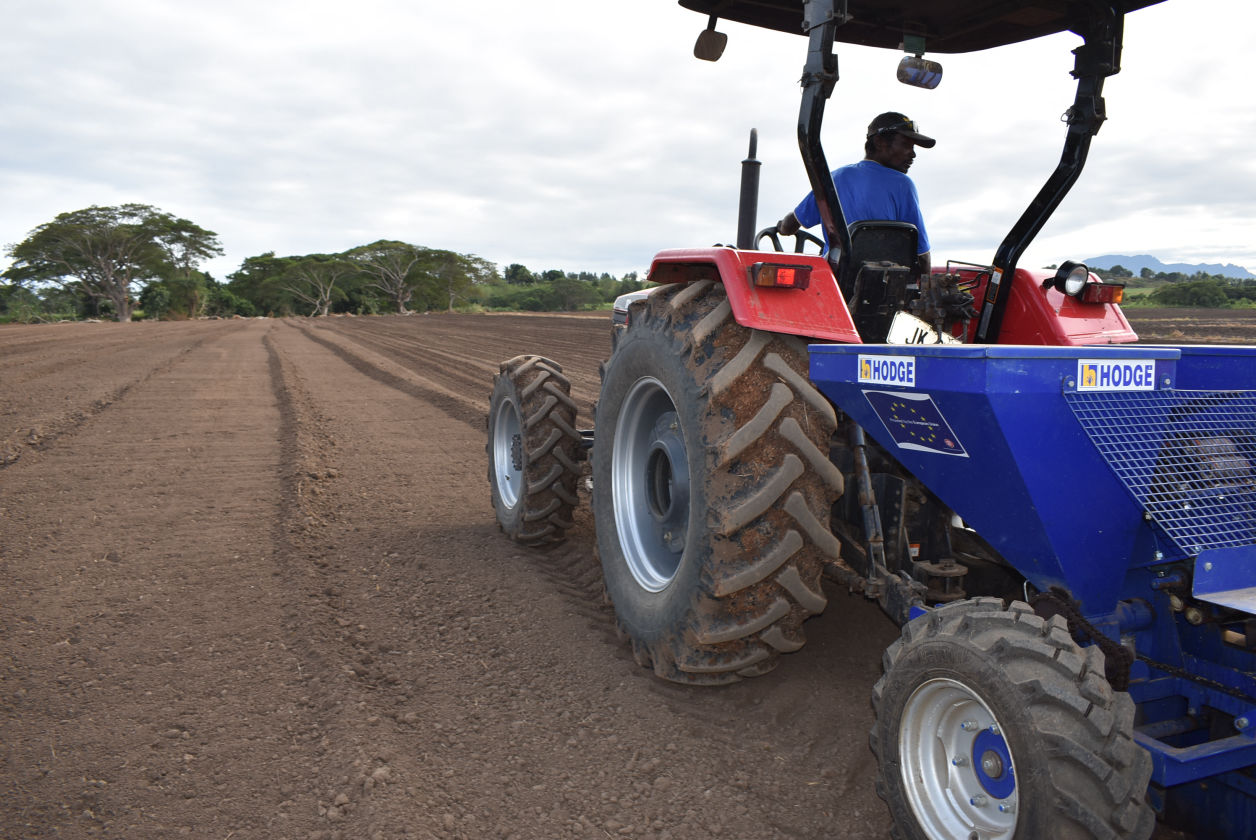
Land preparation varies amongst seasoned growers, but as for new farmers, land should be cleared of any big trees with careful consideration not to remove top soil. Land preparation for sugarcane farming involves a series of activities and is usually done well in advance. The most basic concept of land preparation involves 2 ploughing and 2 harrowing or clod breaking with 3 weeks gaps between each ploughing. Typically the 1st ploughing must reach up to 15cm in depth, followed by harrowing or whatever suitable implement for breaking clods. The 2nd ploughing must reach up to a depth of 30 - 40cm followed by another round of harrowing or choice of available implement for breaking the clods.
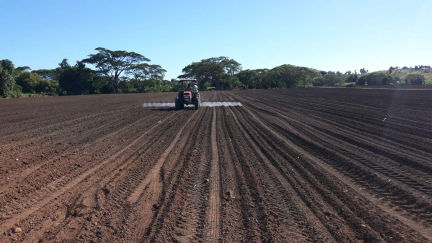
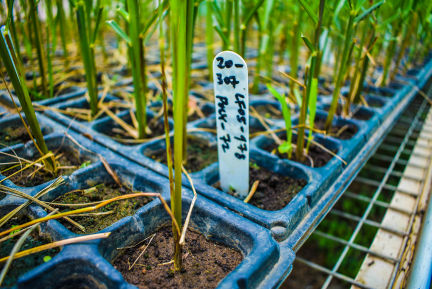
Choices for seed materials can come from many sources but SRIF recommends that seedcane to be sourced from a seedcane certified plot or farm. Typically, a certified seedcane plot or farm is free of diseases and around 7-9 months old. You can find out more about seedcane certification here.
SRIF recommends the following for seedcane handling:
1. Seedcane are to be harvested with care not to damage the eye buds.
2. Trash or dead leaves on the cane MUST NOT be removed using a knife but only by hand and ONLY at the planting location.
3. Seedcane must be loaded into trailers with additional trash to provide protection for the eye buds.
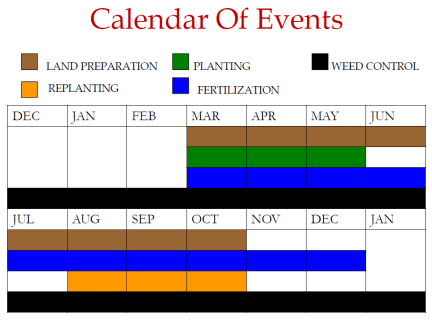
• Success or failure of crop depends on the time of planting.
• Where soil is freely draining such as on the hills planting can be done during the rainy months (December - March)
• On the flats planting should be completed by no later than May to take advantage
• Replanting after ploughing out of old ratoon to be done by no later then September
• Missing the replanting time when ploughing out old ratoon must be followed by cover crop planting such as rice then followed by sugarcane planting by no later than May the following year.
• Rows of furrows for planting cane needs to be taken out or made just prior to planting and when there is adequate moisture in the soil.
• The rows should be spaced at 1.37m as per manual operations and 1.5m to 1.8m as per mechanical operations.
• Furrows must be made to a depth of 20cm - 25cm.
• Advisable to remove clods from inside the rows.
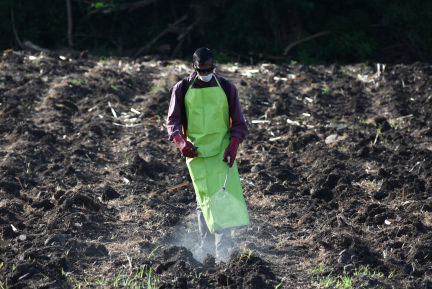
• Recommended rate of Triple Superphosphate & Sulphate of Ammonia or better known as Blend A must be applied in the rows/furrows at the time of planting. The recommended rate is based on your soil results.
• For more information on how to get your soil tested, click here or download this self explanatory guide.
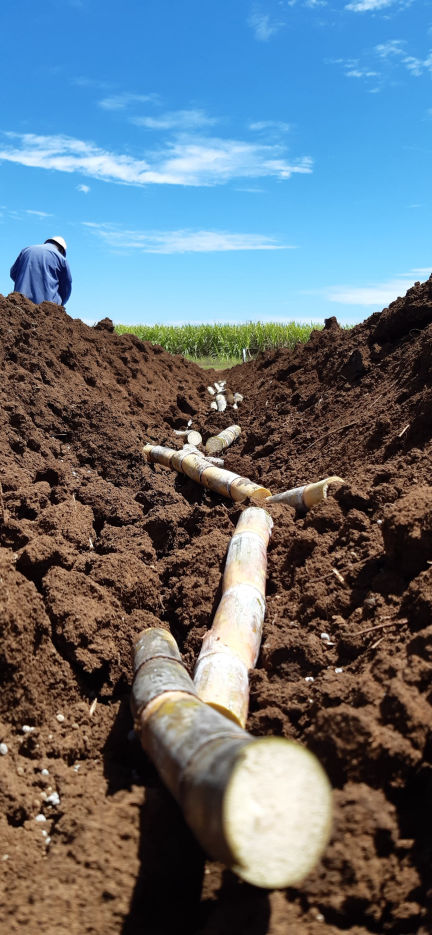
• After application of blend A, place a light covering of soil on the fertilizer before placing sugarcane stalks to avoid fertilizer burn on eye buds.
• Care must be taken to avoid cutting the eye buds when cutting stalks into setts.
• Its advisable to place setts in a such a way that majority of the eye buds are facing upwards to encourage faster germination (see here for more information on germination timeframe for different varieties or check our download page for more details on each varieties).
• Depending on the moisture level of the soil, it is advisable to cover the setts with at least 10cm - 15cm of soil and apply compaction with feet or tractor tires if its during the dry season in order to preserve moisture in the soil for longer.
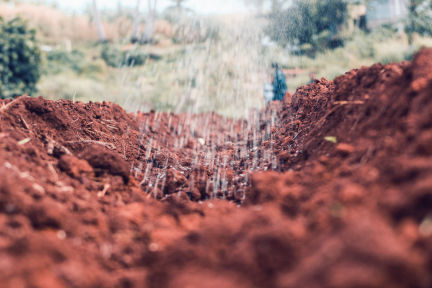
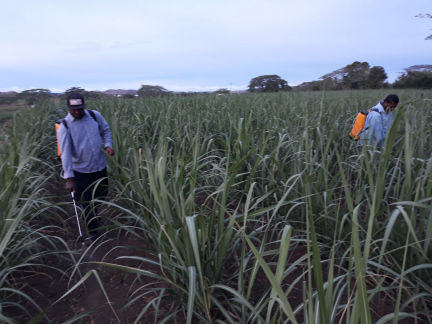
3 - 5 days after planting, the field must be sprayed with residual weedicide such as Diuron or Velpar. Residual weedicide leaves residues in the soil that destroys the roots of germinating weeds. It is important to note that with residual weedicides, presence of moisture improves the efficiency of the weedicide, thus moist soil or rain after spraying is a welcome blessing.
The choice of pre-emergence to use depends on weeds growing on field during fallow period. If there are mainly grasses, then diuron can be used and if there is combination of grasses with broadleaf weeds and creepers, then Valpar can be used. The correct measurement will ensure effective control. Weedicides are more effective when weeds are in 3 -4 leaf stage and spraying can be done easily.
5 - 6 weeks after planting, it is advisable to do another round of weed control via post-emergence spraying. Weeds that are 2 - 3 leaf stages are vulnerable to chemicals and thus are better controlled as compared to overgrown weeds that will require more effort, resources, time and other means such as mechanical or manual weed control. The following weedicides can be used as post-emergence weedicides:
• Diuron - for grasses
• Velpar - for grasses
• Amine 720 - broadleaves, vines and creepers
• Atrazine - broadleaves, vines and creepers
• Weed killer e40 or e80 - broadleaves, vines and creepers
HTML Maker